A better portable-blender routine: prep, blend, clean, repeat
Small changes in ingredient prep and cleaning make everyday blending easier. Build a routine that works before work, after the gym or at home.
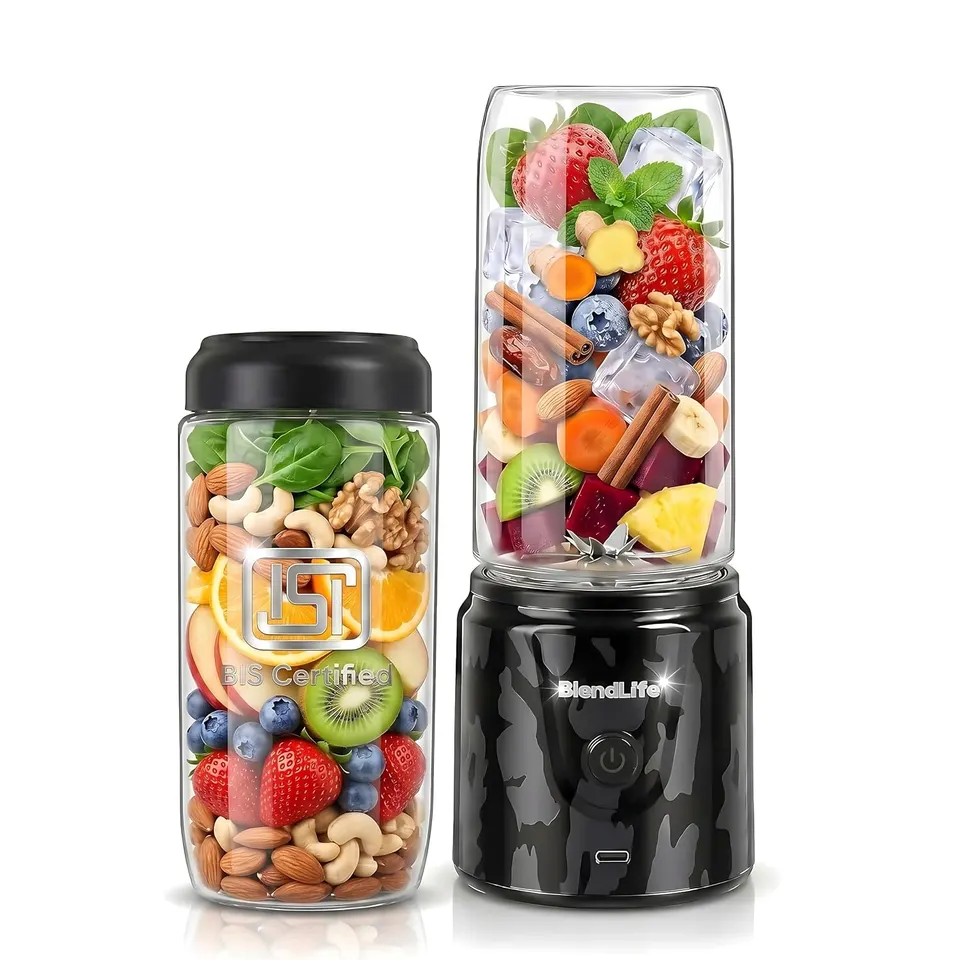
The easiest smoothie routine starts before you press the button. A ready jar, sensible ingredient sizes and a quick clean afterwards can make the difference between an appliance you use every day and one that stays on the shelf.
Your routine in one line: prepare suitable ingredients, add liquid first, leave room below the fill limit, secure the jar, blend as directed and clean promptly.
Build a small ingredient station
Choose a few ingredients you already enjoy: ripe banana, cut fruit, curd or a suitable milk, for example. Keep the combinations simple while you learn your model. This guide is about preparation technique; it is not a diet plan or a promise about nutrition.
If you prepare ingredients ahead, store them appropriately and use fresh, suitable ingredients when it is time to blend. A portable blending jar is not automatically a storage container or an insulated bottle.
Start with liquid and small pieces
Liquid helps ingredients circulate. Add an appropriate amount first, then your prepared ingredients, following the model guide. Large pieces, tightly packed fruit or a dense layer of powder can make the contents harder to move. Stay below the fill mark and leave working space.
For a first trial, choose a soft-fruit combination with enough liquid rather than the thickest possible smoothie. Adjust gradually. For ice, frozen fruit, nuts and other tougher ingredients, check your model’s specific capability and preparation instructions.
Secure the jar and let the appliance work
Check the jar fitting, seal and lid before operating the blender. Keep fingers and utensils away from the blades. Do not bypass a safety lock or try to clear an obstruction while the appliance is running. Follow the permitted cycle duration and rest periods in the guide.
If the mixture is not moving, stop. Check the fill level and ingredient arrangement safely, then follow the guide before restarting. Repeatedly forcing a stalled blender is not a solution.
Keep the drink and the charging routine separate
Use your model’s lid as intended, and confirm the seal before carrying the jar. Cool ingredients before blending; do not put hot, steaming or carbonated liquids into a sealed portable blender. Follow any stricter instructions supplied with your model.
Before charging, check that the port and surrounding area are dry. Use the supplied cable and a suitable power source. Avoid leaving the blender where it can be splashed while connected.
Clean before residue dries
- Finish or empty the drink promptly.
- Follow the guide for a rinse or self-clean cycle where supported.
- Clean removable parts and seals as directed. Take care around blades.
- Wipe the motor base appropriately; do not immerse it.
- Dry the parts and charging connection before reassembly or charging.
A self-clean cycle is a helpful first step, not a substitute for checking under the lid or around the seal. Do not assume dishwasher suitability: use only the cleaning method specified for your model.
Make the next use easier
Store the clean appliance in a dry place and keep the cable where you can find it. If you use an extra jar or accessory, check compatibility with your exact model. Similar-looking threads and lids are not evidence that parts are interchangeable.
Need a starting recipe? Explore the BlendLife recipe book. For exact instructions, open your model page: GO, NOVA, BLAZE or JOSH. If your blender behaves unexpectedly, contact support with the model and issue details rather than trying an unsafe workaround.