How to choose a portable blender for your everyday routine
Start with your portion size, ingredients and carry routine. A practical guide to comparing portable blenders without getting lost in headline specifications.
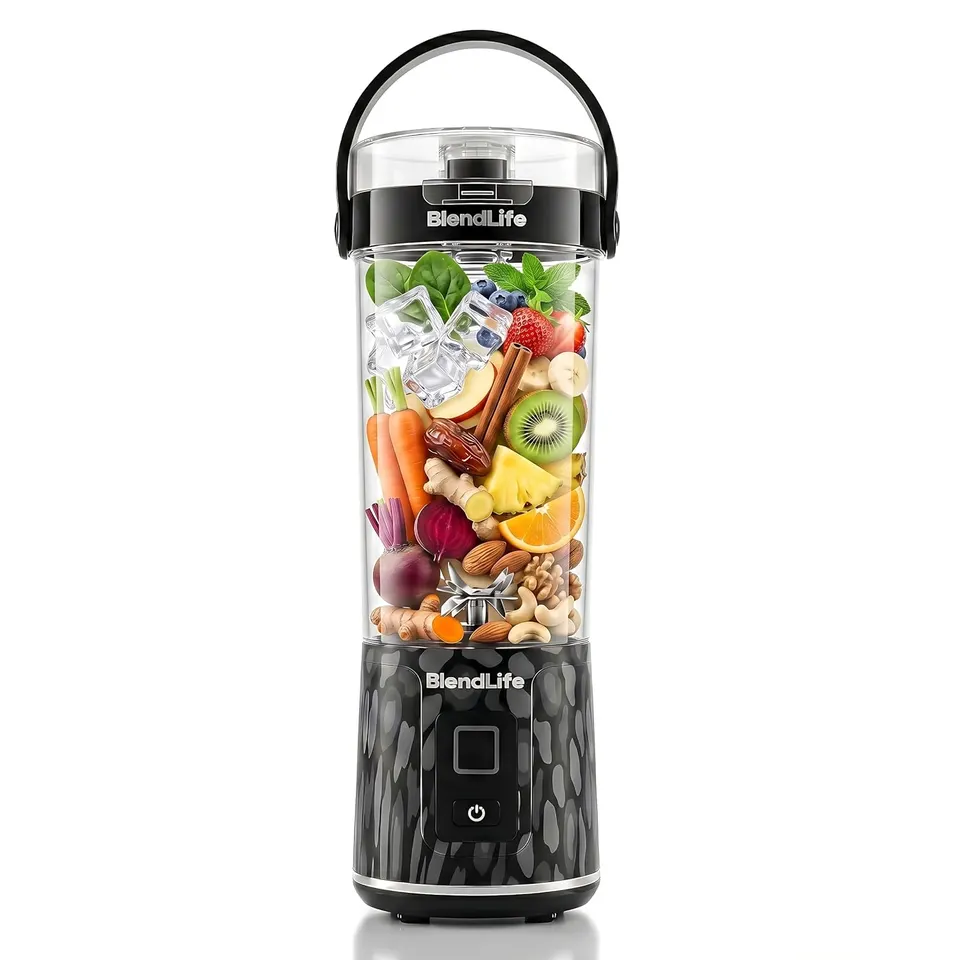
A good portable blender is the one that fits what you actually make. Someone mixing a small fruit smoothie before work has different needs from a family preparing a larger batch. Start with that everyday job, then compare the model details.
The quick answer: choose for working portion size, suitable ingredients, cleaning and how you carry the jar. Battery capacity and blade count are useful details, but neither tells the whole performance story.
1. Choose your portion before your model
Jar capacity is the total listed volume, not permission to fill the jar to the top. Ingredients need space to move. Always respect the marked fill limit and the user guide. Think about the amount you usually drink and the space that fruit, powder and liquid take together.
| Model | Listed jar capacity | A useful starting point |
|---|---|---|
| JOSH | 380 ml | A compact everyday setup |
| GO | 420 ml | A smaller jar with an extra jar included |
| NOVA | 600 ml | A larger single-jar routine with a sipper lid |
| BLAZE | 700 ml | A roomier portable model; compare its full features |
| MAX | 2 litres | Larger batches with a larger body |
These are catalogue capacities, not tested serving sizes. Check the current product page for the exact variant and included items.
2. Be specific about ingredients
“Smoothies” can mean a ripe banana with milk, or a thick mixture of frozen ingredients. Those are different loads. Read the model’s instructions for ingredient size, liquid amount and whether ice, nuts or frozen fruit are suitable. Do not assume that every portable model has the same capabilities.
A portable blender is also a different appliance from a kitchen mixer grinder. If your main job is dry masala grinding or heavy-duty food preparation, choose an appliance intended for that task.
3. Read battery numbers in context
mAh describes battery capacity. Watts describe electrical power. Neither number alone is a direct test of blend quality. Motor design, jar shape, blade arrangement, ingredient load and operating instructions all matter. Treat “blends per charge” as a usage claim that depends on how long and how hard each blend runs.
Look for the charging connection, supplied cable and charging time as well. A familiar USB-C connection is convenient, but you should still use a compatible power source and keep the port dry.
4. Think through the journey after blending
Will you drink at home, carry the jar to work or keep a second jar ready? Read the box contents rather than assuming every lid, sipper or travel accessory is included. Test the fitted lid and seal before carrying a drink in your bag. A blending jar is not an insulated flask unless the model specifically says so.
5. Make cleaning part of the buying decision
Check which parts detach and how the motor base must be cleaned. A self-clean cycle helps loosen residue; it does not remove the need to clean seals and accessible parts as directed. A design you can maintain comfortably is more useful than a feature list you never use.
A final five-minute check
- Compare the exact model and colour variant.
- Read the specifications and included-items list.
- Check warranty coverage and exclusions.
- Review the current price and checkout total.
- Ask support about an ingredient or accessory if the answer is unclear.
Explore the details: compare BlendLife blenders, or open GO, NOVA, BLAZE, JOSH and MAX. Specifications in this guide were checked against the BlendLife catalogue at publication; the product page is the source for current details.